At Construction Interior Design, we pride ourselves on being able to deliver the highest quality in metal stud partition walls. Over the years, we have developed the skills to be able to provide a wide variety of partitions, including lightweight, robust, curved, sound rated and many more types of walls.
Metal stud partitions work well to break up large rooms and create multiple, smaller areas. After spending years experimenting with a broad range of materials, we have come to the conclusion that metal stud partitions are the most durable, being more versatile than the more commonly used timber partitions. In this blog, we are going to delve into the process of building a metal stud partition wall and talk about the various steps involved in the construction.
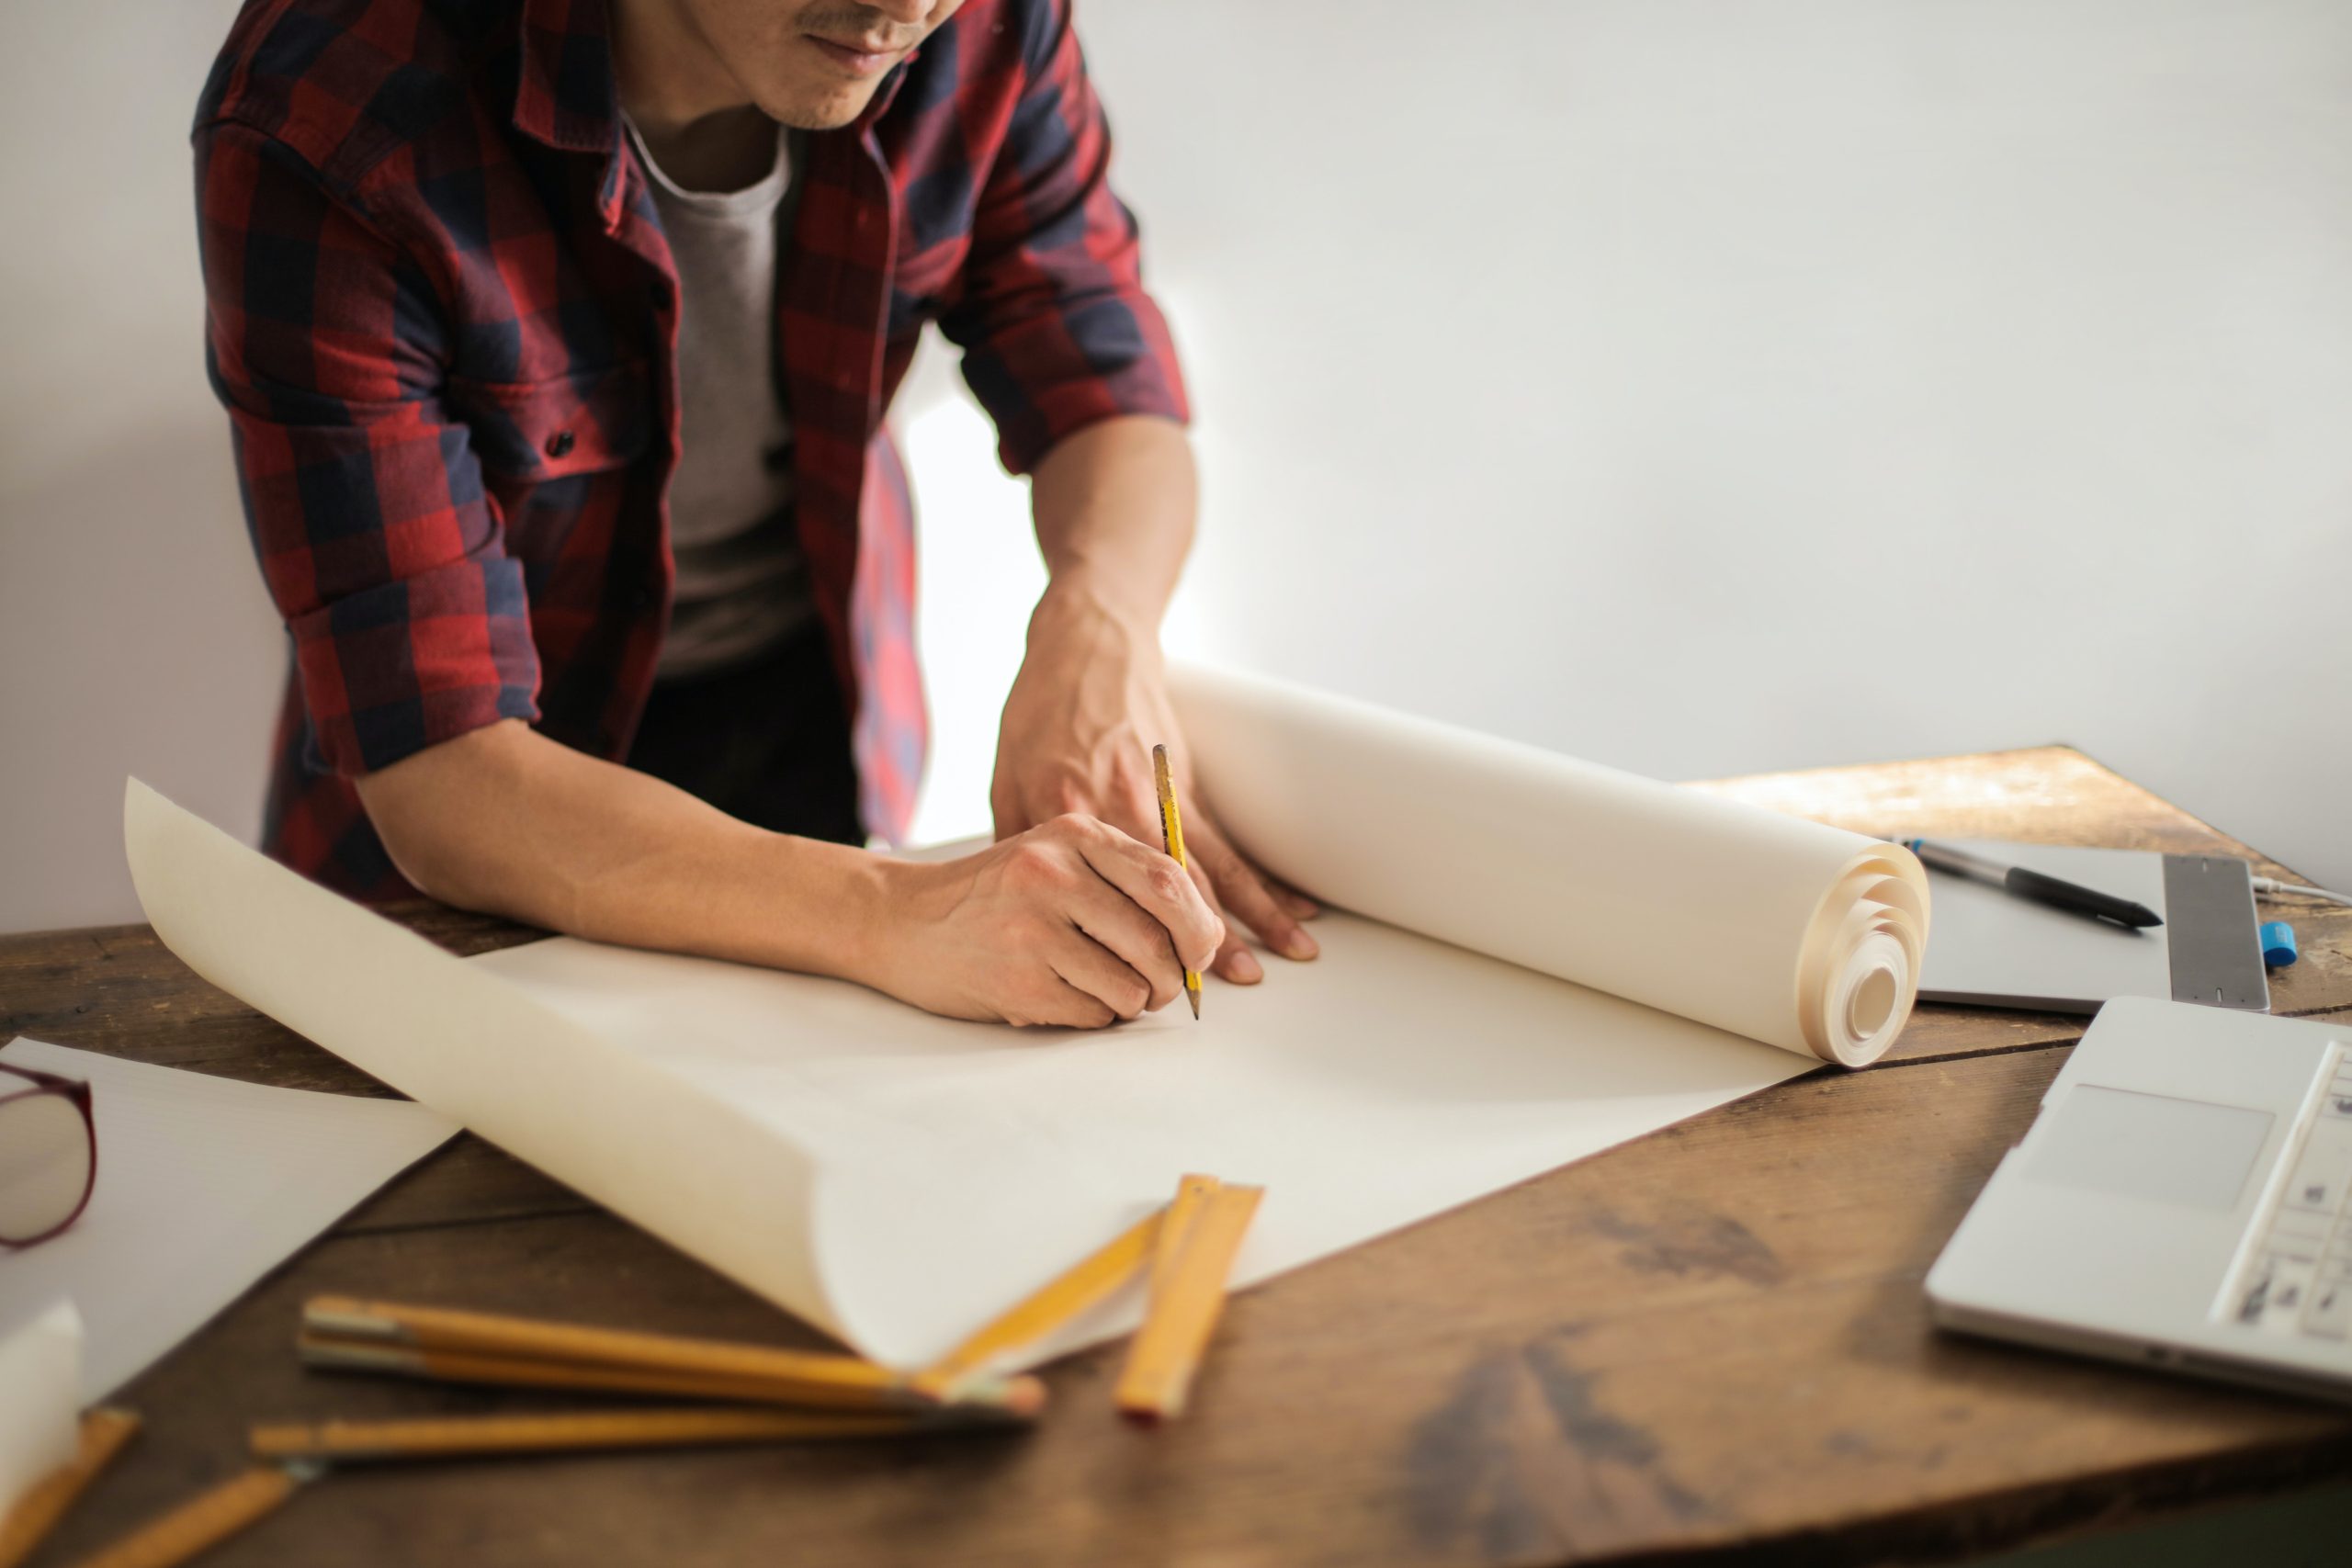
Equipment

The first thing that has to be done at the beginning of any construction project is gathering all the equipment needed for the task. The tools needed to complete this task are commonly used throughout the majority of construction jobs, including a hammer, nail gun, saw, drill, tape measure, and spirit level. Some of the tools are more specific to creating a metal stud partition wall, such as tin snips and a chalk line. Materials needed to build the partition include plasterboard, nails, screws and of course, the metal studs.
It is very important to make sure that you have all the necessary equipment to hand and ready to use before you begin with the construction of a metal stud partition wall. If you do not take the time beforehand to collect all of the needed materials and tools, there is a much higher chance that you will make a mistake and build the wall incorrectly. With a construction project like a partition wall, making simple mistakes could potentially be dangerous to those who frequent the building the wall has been built in.
It may seem relatively rudimentary to talk in depth about the importance of collating the necessary equipment, but preparation is key to any successful construction endeavour.
Pre-build Checks
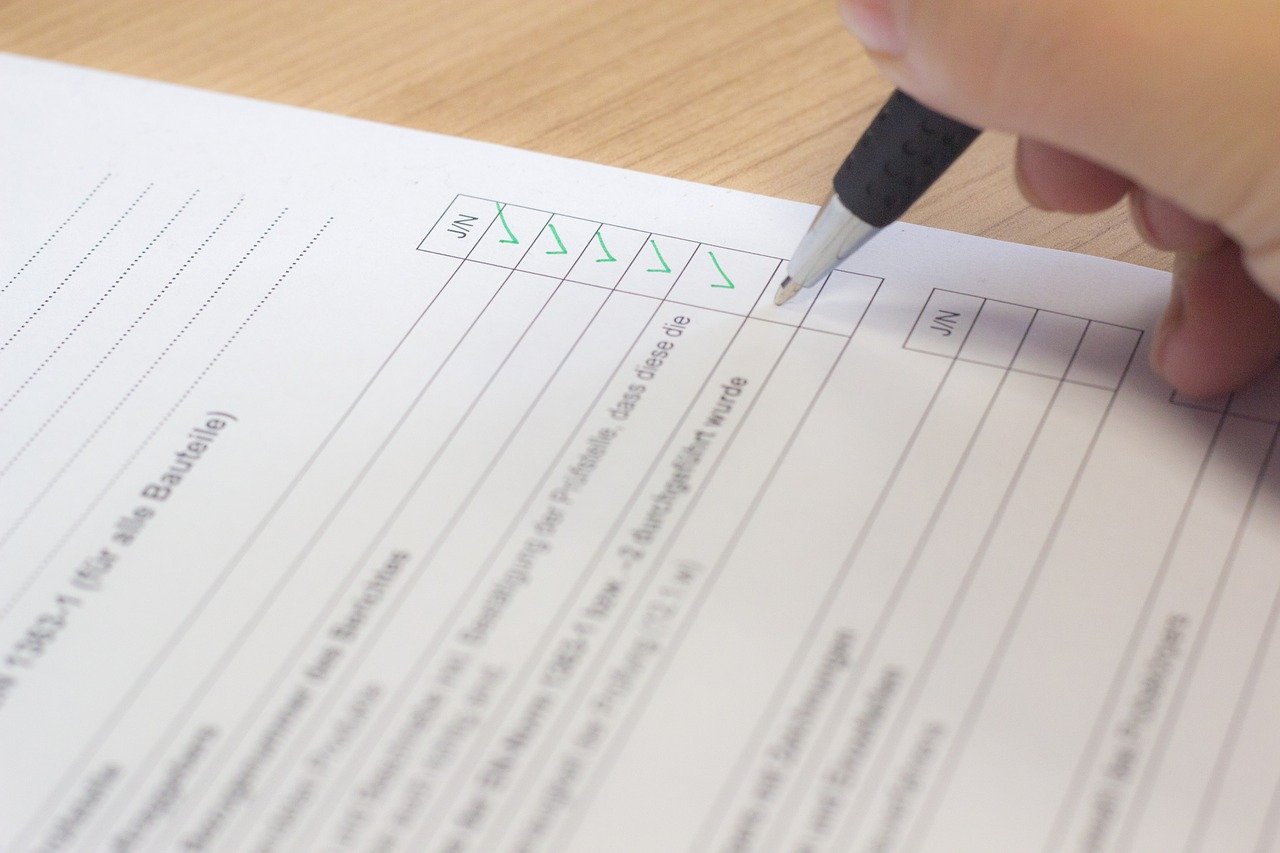
Speaking of preparation, once the equipment has been collected it is time to take a closer look at the area of which the partition wall is being built. There are a number of checks that need to be carried out before construction starts to ensure that the wall can be completed to the highest quality.
It is important to take the time to measure all of your materials, including the plasterboard, metal studs, as well as marking the precise position of the metal stud wall. Checks should be thorough, making sure to look out for existing features such as windows, lighting, sockets and anything else that could impact the positioning of the wall.
It is also vital that checks are made to ensure that the new partition wall will be built in compliance with building regulations. The building authority will be contacted who will inspect the prospective wall, determining whether the partition can be built without sufficiently changing the building’s fire resistance, light or ventilation.
Constructing the Wall
Once the proper equipment has been collated and the checks have been carried out, the frame of the partition wall can begin to be constructed. First, the frame is built with the floor and ceiling plate. For the floor plate, the length of the wall is measured at the points of which you will secure your wall and the point it ends. Once the positioning has been measured out, the floorplate is then nailed to the floor, ready for the timber to be placed inside.
A similar process is carried out with the ceiling plate however it is slightly more complicated. Following the measurements carefully, the ceiling plate can be attached to where the top of the wall is going to be, using a plumb line to ensure that the ceiling plate is directly above the floor plate. This will allow the timber to fit neatly between the two plates, creating the frame of the partition wall.
Now that the framework has been constructed, the stud wall spacing can commence. The distance between the ceiling plate and the floor plate will be measured and the studs will be cut to size. The studs will be spaced out evenly, making it easier to eventually apply the plasterboard. Once this is done, the noggins will then be added – these are inserted between the studs in order to increase the wall’s strength and to prevent it from shaking.
The next stage, after ensuring all of the necessary wiring and plumbing is placed in the appropriate places, the wall sheets can be added. The boards can be heavy so it is advisable for multiple people to help with the fitting. The boards will be cut to size and then secured to the framework using drills and nails. At this stage, the insulation can be added, along with any soundproofing if that has been requested, and the board can be coated in skim plaster. Once dried, this will allow the wall to be easily decorated with wallpaper or by being painted.
Contact Construction Interior Design
Construction Interior Design is here to help you with all of your metal stud partition wall needs. If you would like to get in touch with us to check our availability and to talk through construction options with us, please feel free to contact us. You can get in touch by filling out our online contact form or by calling us on 01476 860800.


